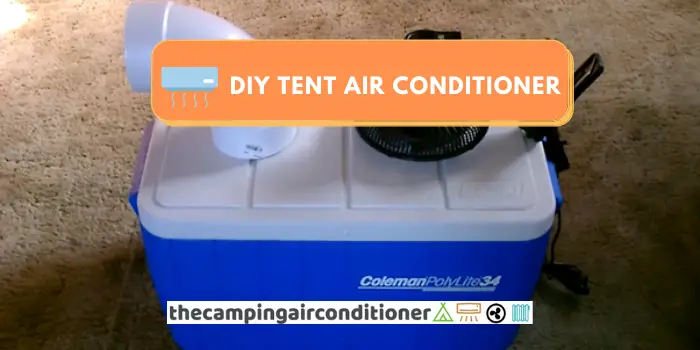
We have discovered an excellent alternative for a tent air conditioner if you are running on a budget or like the DIY (do it yourself) approach. Through our investigations to bring the best content for you, we found an extremely easy to make DIY tent air conditioner on Youtube.
These are the five steps required to make your tent ac:
- Step 1 – Pick an Ice chest and clean it (or Styrofoam)
- Step 2 – Position the mini fan and the PVC elbow over the lid and drill the holes
- Step 3 – Attached the mini fan and the elbow to the lid
- Step 4 – Connect the fan to the power connection
- Step 5 – Place the ice, close the lid, turn the fan on, and enjoy the cold breeze.
Let’s go through each step in the following sections, but first, let’s quickly understand how an aircon works.
How an air conditioner works?
Before jumping straight into the guide, we thought it would be good to understand how an air conditioner works. A standard house air conditioning system usually comprises of the following:
- a thermostat
- Outdoor and indoor units, which work together to exchange the heat. The outdoor piece has a fan, a condenser coil, and a compressor typically. The indoor element comes with a fan coil.
- Vales and tubes that connect the system and regulate the amount of refrigerant required into the coils
Simplifying the process, an air conditioner uses refrigerant embedded in the system to exchange hot air with cold air. The refrigerant absorbs the heat from the room and cool down the room. The warm coolant passes through an arrangement with pipes and coil that cools it down and re-circulates the refrigerant in the cooling cycle. The figure below summarises the air conditioning process in a sketch.
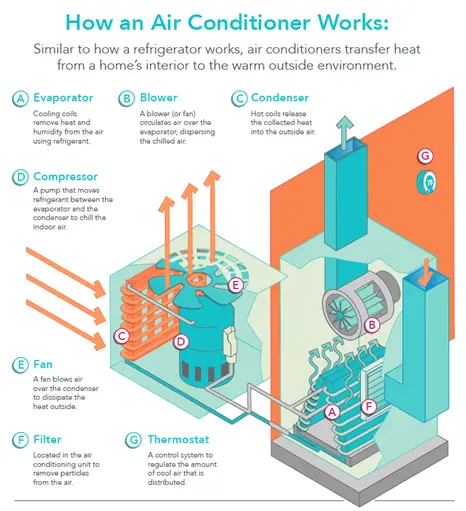
DIY - Tent Air Conditioner
Now that you roughly know how an air conditioning system works, we will explain how to build your tent AC with 5 simple steps. Even though this DIY approach is very elementary, its cooling mechanisms are still based on how a conventional air conditioner works.
Required material for your DIY Camping AC
You don’t need much material to build your ac. The list below summarises the items:
- An ice chest / cooler box (or Styrofoam icebox) – the outdoor/indoor units, when compared to a common ac system
- PVC elbow – 90 degrees – the valves and tubes required, when compared to a common ac system
- A small fan – the fan coil
- Ice – the coolant
Optional Material:
- Extra foam and Reflective tape/aluminum – for further insulation
Power input
As with every machine, this tent ac will also need power input. However, the power requirements from the fan are minimal.
You can choose from solar panels, batteries, or even an automobile connection (12v plug). What is the best? We have a biased opinion, as we love eco-friendly and renewable energy options.
Step by Step Guide - DIY Tent AC
Step 1 – Ice chest preparation
As discussed, we suggest picking up a used ice cooler, but you can also use a Styrofoam box. A medium-sized box (approximately 30-56-34cm or 2-3 Liters) will do a good job and will be able to cool down a tent for up to 6 people.
Wash the inner side of the recipient and make sure that there are no holes or potential leaking points. If you are using an old box with a small hole and leakage, don’t panic. You can patch it with special glue and use an extra layer of thermal protection.
If you want the ice inside your tent ac to last longer and the device to be more effective, we recommend placing a 2-inch foam (or Styrofoam) wall inside your cooler box (as detailed in the picture below). Cover it with reflective aluminium if you use foam to ensure optimal protection.
This will significantly improve the icebox insulation and ensure that the ice lasts longer. We note that this option might require more maintenance in the future (because you might need to replace the aluminium layer).
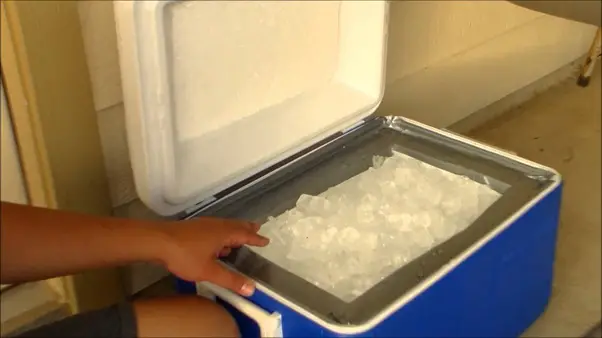
Similarly to a conventional ac system, the cooler box represents the inside and outside units, which help to replace the “hot air” with “cool air”.
Step 2 – Tool's time - positioning the fan, pvc elbow and drilling the holes
Once you have prepared your ice container, it is time to find the best position for the elbow and fan. We recommend placing both in the middle line of the icebox and roughly 10-15cm apart from each other (the distance might vary depending on the recipient’s size).
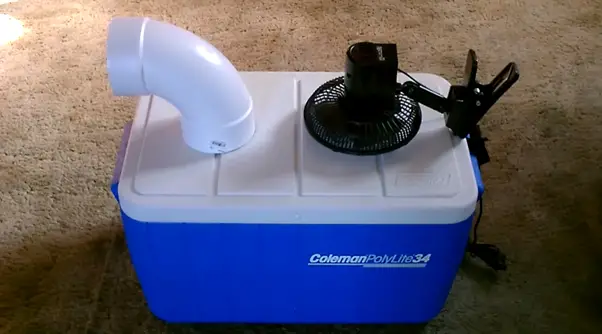
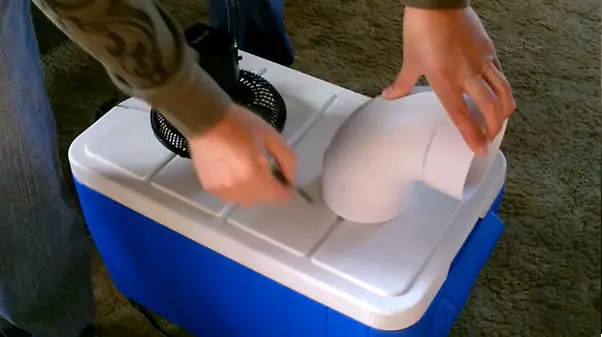
Please, pay attention to the leave at least 5 to 7cm from the borders (you don’t want to damage or crack them). Use a pencil and mark their positions on the lid. Ensure that the holes’ sizes are adequate, as you don’t want a big (you will need to fill the gaps) or a small hole (fan and elbow will not fit).
Get your combi drill and make a small puncture in one point of the marked circumferences. From this puncture, use your jigsaw to keep cutting the hole.
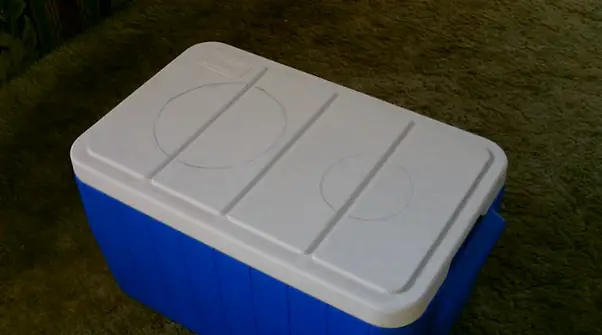
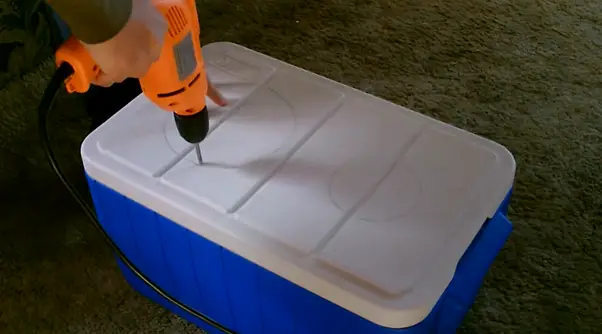
Note: Before drilling the holes, make sure that you wear all the required protective equipment. Please DO NOT use tools you are not comfortable with or do not know how to handle.
Step 3 – Connecting the elbow and the fan
Now it is time to attach the elbow and the fan to the box. It might be the case that your hole size is not perfect. We recommend patching and sealing the holes for optimal performance (use plastic glue to fix it). On the other hand, if the opening is too small, use the jigsaw to increase it.
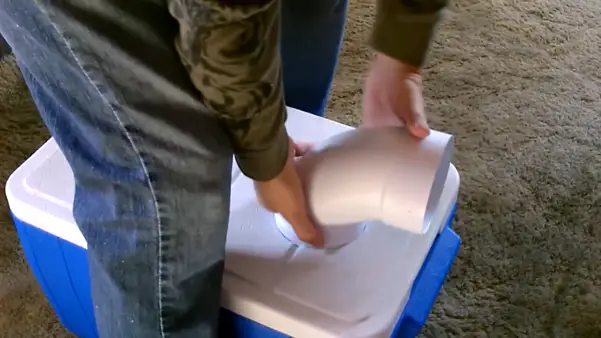
Step 4 – Connecting fan to the power supply
As previously detailed, you can choose from multiple power supply options. We recommend using a solar-powered generator, such a Jackery Solar (shown below), since they will probably be the most reliable when camping.
if you have an electricity hook up close by, forget about it – just use the local power supply.
- Capacity - 518 watt-hour (24Ah, 21.6V)
- Multiple outlets (USB, DC, 110V)
- Solar-powered / recharging
- Easy to carry and operate.
In parallel with the conventional ac system, the fan will play the role of the blower, distributing the cold air to the tent/room.
These days, solar-powered fan options are straightforward to install and operate. It only requires opening the solar panel and connecting it to the fan.
Step 5 – Clean the chest, place the ice, and turn it on!
After everything is in place, clean the cooler box to remove any residues, and place the ice inside it. The ice represents to this system what a coolant represents to a standard air conditioning procedure.
Now it is time to put the lid on, turn the fan on and enjoy the cool air!
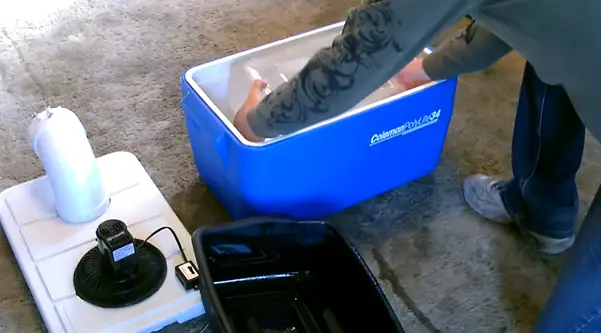
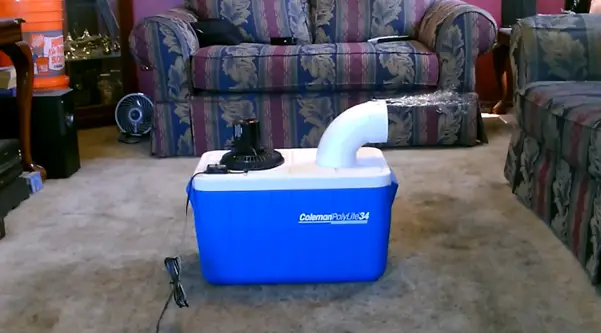
DIY Tent Air Conditioner - Video
FAQ
What is the cost of this tent air conditioner?
If you already have the required tools, you probably can build it with less $100.
Is this DIY Tent Air Conditioner safe?
Yes, it is. Its electrical components are minimum, and there are almost no risks with using it. However, please do not try to build it if you don’t know how to handle a jigsaw or combi drill.
Is this DIY Tent Air Conditioner efficient?
Yes. As you can watch in the video above, this simple device managed to drop the room’s temperature by more than 40oF, which is a great outcome, in our opinion.
How long will the ice inside it last?
This will depend on various variables, such as local temperature, icebox insulation, fan speed, etc. Overall, using a medium-sized box, you can expect the ice to last for 4 hours (enough to mitigate high temperatures).
Can I make the ice inside the chest box last longer?
Yes. Apart from further insulation, you can add rock salt to the ice chest. The salt will reduce its ice’s freezing point, making it last longer.
Is it easy to carry this device?
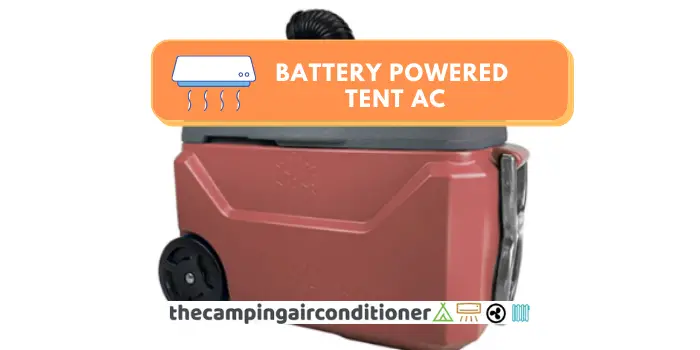
Yes. Some icebox models come with wheels that can facilitate transportation even more. You can also use them!
- Extra Insulation
- Very Cheap - Cost less than $100
- HEAVY-DUTY WHEELS:
What are the alternatives for this DIY tent AC option?
Suppose you are not convinced about this system. In that case, we recommend looking at some of our recent posts, such as our guide on:
Can I use a window AC in my tent? Are there tents with AC Ports?
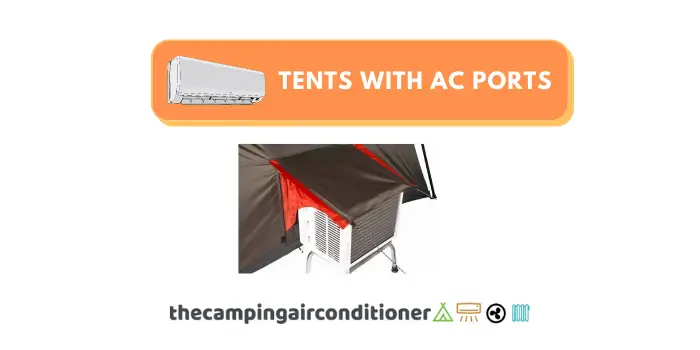
Yes, and yes! There are no problems with using a window AC in your tent. Please pay attention to the electrical requirements of your window AC and make sure that you properly install it.
There are already tents with AC ports available in the market, with special openings for the equipment and cables.
Conclusion
This DIY camping air conditioner option is easy to make, cheap, and safe. You can make it in one afternoon and enjoy it on numerous trips. Overall, this homemade device does not require high maintenance levels and cleaning the ice chest after use should be sufficient.
If you have an extra budget and want to check out other options, check our guide on choosing the best tent ac option for you.


